Sending a contact card (VCF)
Overview
You can now send a contact card (VCF file) as an attachment in your text messages.
A Virtual Contact File (VCF) is a standard file format that stores contact information such as:
• Name
• Phone number
• Email address
• Organization details, and others
When your recipient opens the file, they can add the contact information directly into their phone’s contacts. This allows recipients to easily save important contact details directly to their phone’s address book with one tap.
This feature is supported through MMS messaging and is available for Broadcasts, Direct Messages, Scheduled Messages, and Opt-in paths.
To send a Contact Card (VCF):
1. Log in to mCommons.
2. Navigate to Text Messaging > Attachments.
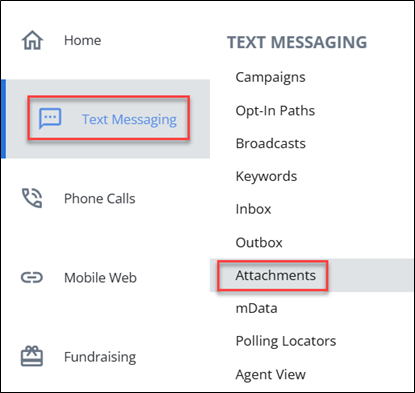
3. Click + NEW ATTACHMENT.
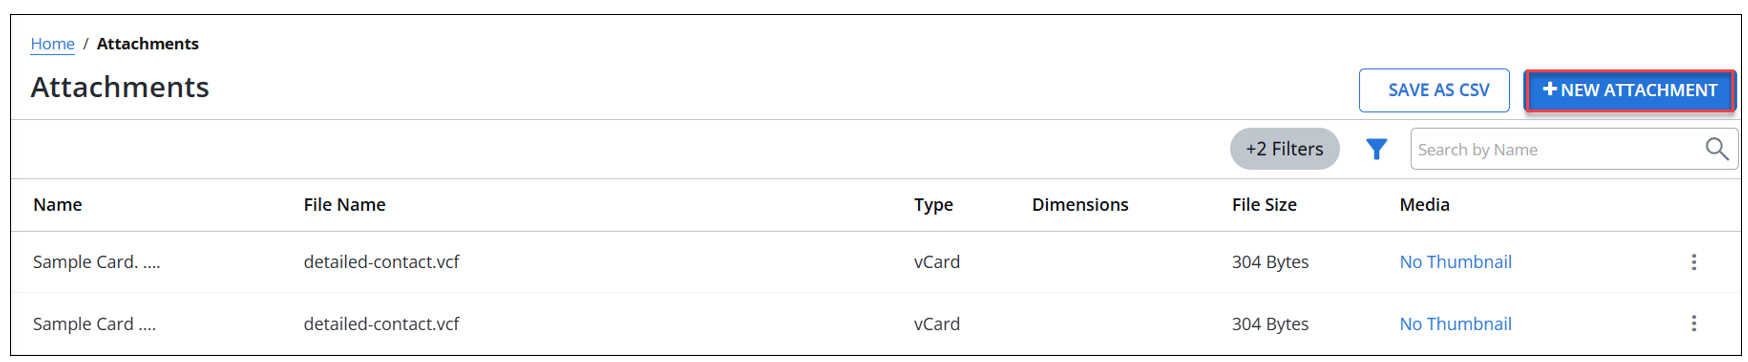
4. Upload your .vcf file (contact card).
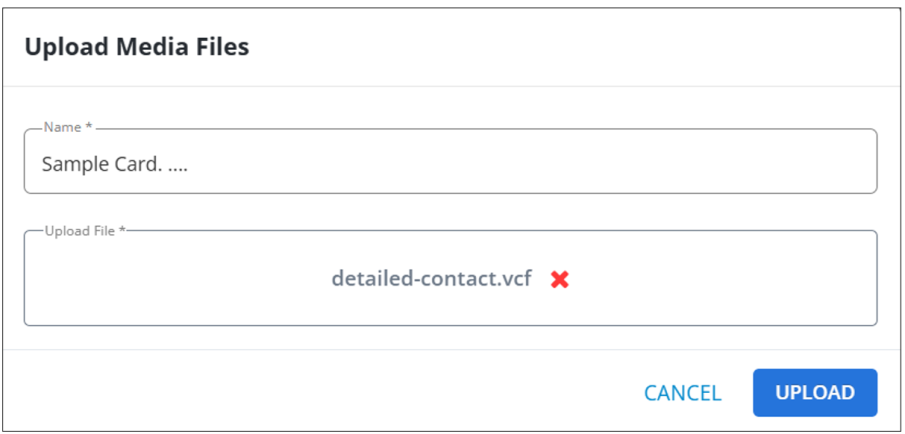
5. Add a name for the attachment and click UPLOAD. Click CANCEL if you want to cancel the upload process.
When you upload a Contact Card (.vcf file) into the platform, you’ll see a confirmation message.
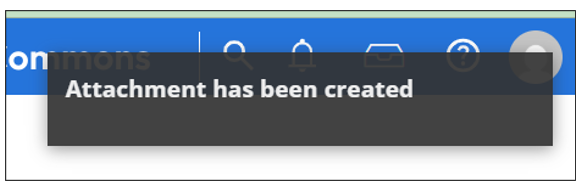
Once uploaded successfully, you can attach the VCF file to MMS. Your recipients will see the file as an attachment in the MMS message and can tap to open and save the contact.
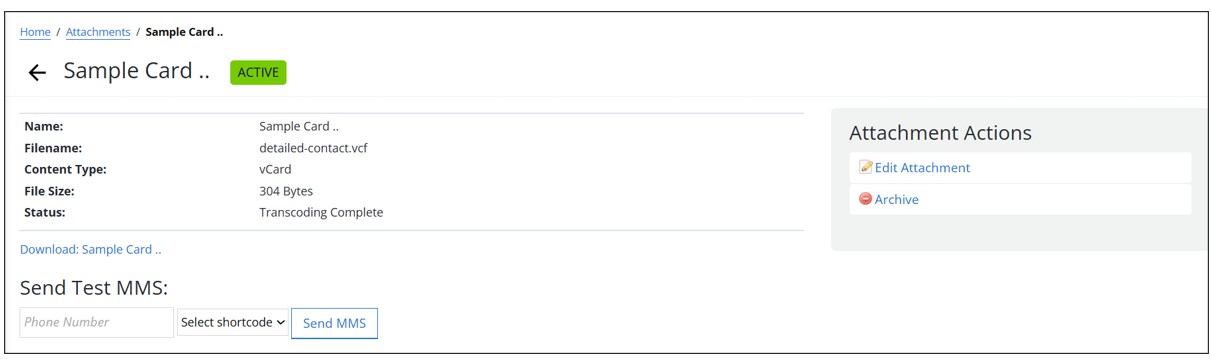
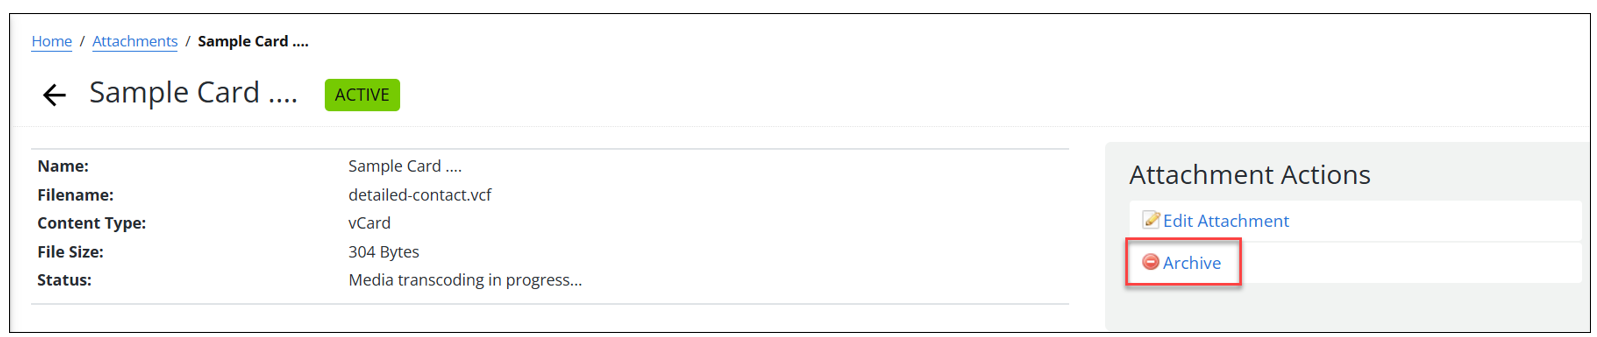
On the right side of the screen, you’ll see the Attachment Actions panel:
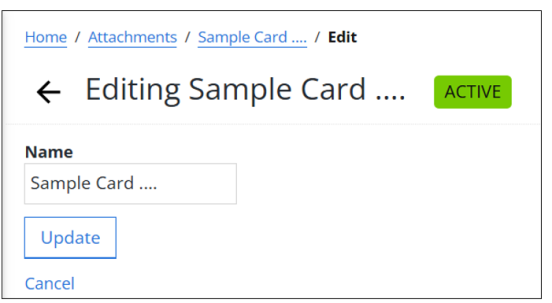
• Edit Attachment: Update the name of the attachment. Click Update after updating the name of the attachment or select Cancel to cancel the update process.
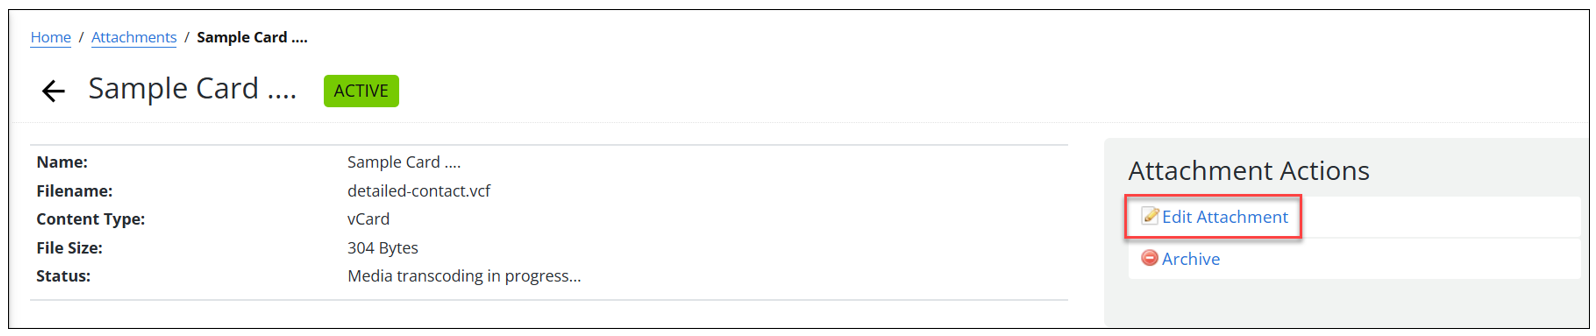
• Archive: Moves the attachment out of active use.
Note: Archived attachments cannot be sent in messages but remain in your records for future reference.
The attached vCard will be available in the Attachments table.
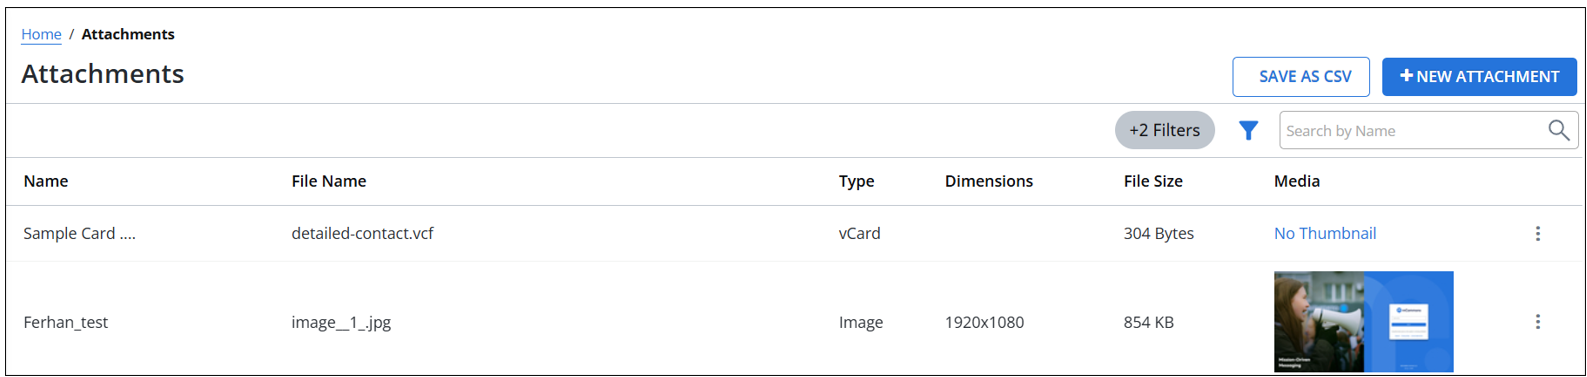
Fields on the Attachments Page
• Name: The display name you gave the attachment. This is how it will appear in your attachment list.
• Filename: The actual file name of the uploaded VCF file (example: detailed-contact.vcf).
• Content Type: Shows the type of file uploaded. For contact cards, it will display as vCard.
• File Size: The size of the file in bytes.
• Status: Indicates the current processing state of the file.
-
Media transcoding in progress: The platform is preparing your file for use in messages.
-
Transcoding Complete: The file is ready to be attached and sent in messages.
Editing a VCF Attachment
1. Locate the file you want to edit in the Attachments table.
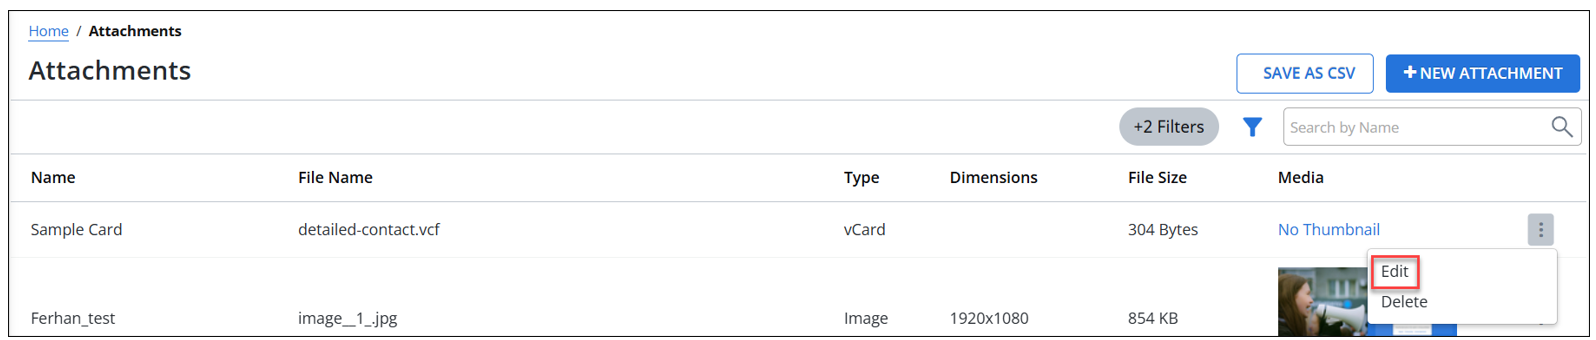
2. Click the three dots ⋮ menu on the right side of the attachment.
3. Select Edit.
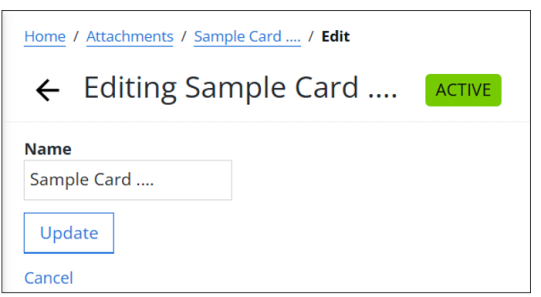
On the edit screen, update the Name of the file (how it appears in your list).
4. Click Update after updating the name of the attachment or select Cancel to cancel the update process.
Deleting a VCF Attachment
1. Locate the file you want to remove.
2. Click the three dots ⋮ menu.
3. Select Delete.
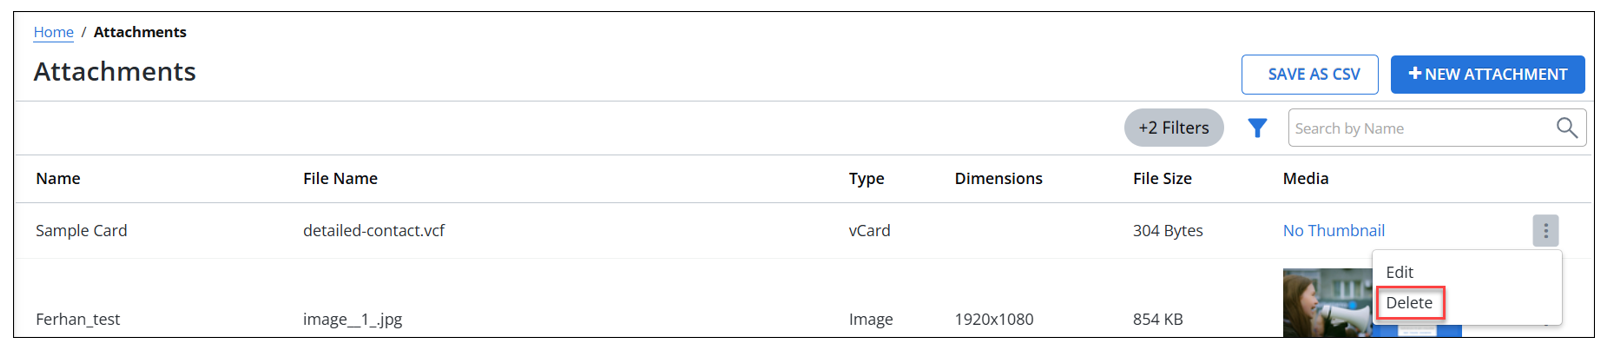
A confirmation message appears on the screen indicating successful deletion of the file.